Just Dough It
- Sehaj Singh

- Sep 22, 2020
- 9 min read
Updated: Sep 26, 2020
This is a 4 days activity from 21st to 25th of Sept and we need to play with the dough in this activity and to learn activity through design.
The dough is a thick, malleable, sometimes elastic mixture made by mixing flour with a small amount of water and/or other liquid, and sometimes includes yeast or other leavening agents as well as other ingredients such as various fats or flavourings.
The Food Item which I chose is Tandoori Roti.
Day 1
Today was the first day I ever cooked in my life. My mom helped me a lot to do it.
Methods Of Making Tandoori Roti -
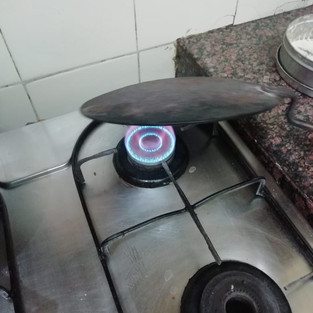
1. Before starting anything I took a Pressure Cooker and put it on a stove with its lid open.

2. Then took a lighter and lit the stove.

3. Then I left it high flame and till then I started with my dough making.
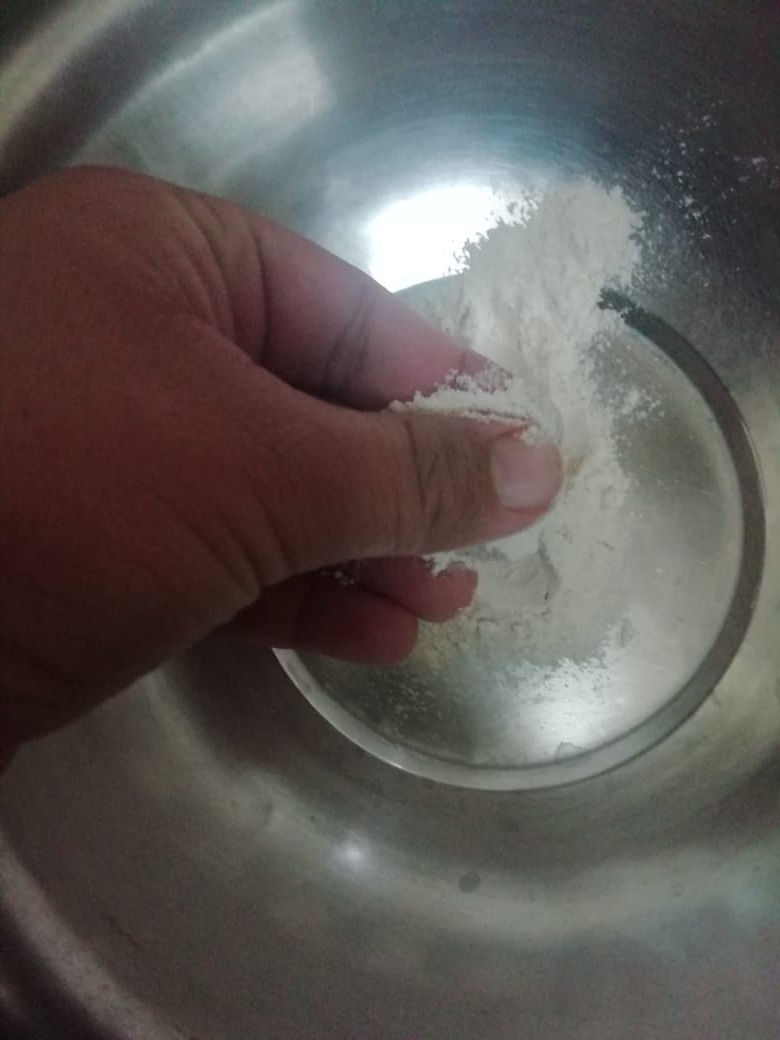
4. First I took the wheat flour from the drum using a spatula.

5. Then I took a sieve and a plate under the sieve and poured the flour on it.

6. Then I started with sieving and get bran left over the sieve.

7. Then I took a large bowl (Atta Parat).

8. Then I poured the sieved flour in the large bowl.

9. Then I took the clarified butter (ghee) and a spoon.
10. Then I poured 2 teaspoons of ghee in the atta.
11. After that I saw lumps of flour being formed and
12. Then to remove it I crush the lumps between my fingers and I get the powdered form of the flour back.
13. Then I took a bowl and fill it with water.

14. After that I poured a little amount of water in my hand and spread it on the flour/dough.
15. There is a precaution to always remember that do not ever put more amount of water otherwise it will become so wet and sticky and not being able to go further, and if by the chance put more amount flour and it will become all good.
16. Then I started mixing the water with my hands.

17. After that I poured a little more water and took the leftover flour in the bowl to get wet with water.
18. Then I completely mixed it with my hands until it feels sticky to me.
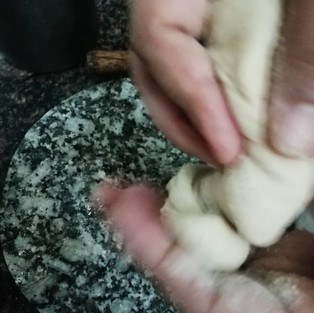
19. Then I started kneading the dough by pressing between my palm and the fingers.

20. Then I also kneed it by making hands as punch and it feels like punching.
21 It was my first time kneading dough so I feel so disgusting to me first, my hands are cover with flour and sticky and completely not liking at all.
22. I got so irritated and immediately washed my hands after the dough is made and wiped my hands, otherwise, the dough will stick to my hands.
23. Then I took dry flour in another container.

24. After that I placed roti roller (Chakla Belan) for making Rotis.

24. Then I took a handful amount of dough in my hand.
25. After that I started making a small sphere form the dough by rolling it between my both hands.
26. Then to remove the stickiness of the sphere I dipped it in the dry flour.

27. After that I placed the sphere on the roller tile (Chakla).
28. Then I pressed on the sphere to make it flat.
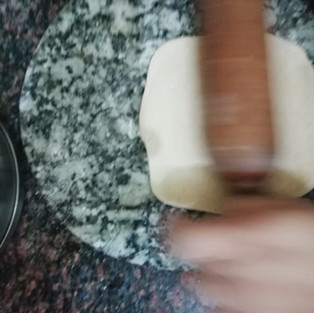
29. Then I took the rolling cylinder (Belan) and place it above the flat dough.

30. Then I started rolling the cylinder.

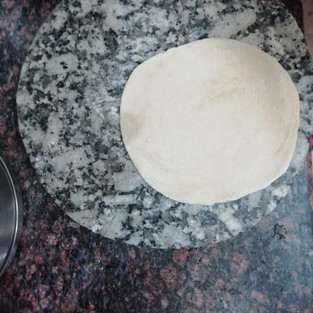
31 Then I made a small flat circle shape by it, small because tandoori roti is always small.
32. While rolling I struggled a lot to get a proper circle, it's becoming irregular shape a lot.
33. Finally with the help and tips of my mother I made a proper circle.

34. Now to check if the cooker is preheated or not I placed my hand high up the cooker and it was actually releasing a lot of heat.
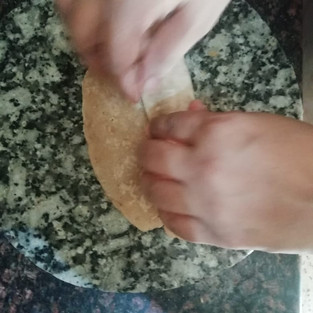
35. Then to use tandoor I need to stick the Rotis on the inner walls of the cooker.
36. For sticking I need water and poured more water in the bowl.

37. Then I applied the water on one side of the roti.

38. To stick the Rotis in the tandoor/cooker I need more experience and it's my first time in the kitchen.
39. My mom strictly refused to place the Rotis inside the tandoor and she got angry on me when I said please let me do it. She said she won't allow me to burn my hand.
40. My mom took the roti and applied more water on that side only.
41. Then she tilted the cooker and immediately stuck the roti inside the cooker.

42. Then just after it she rotated the cooker upside down.

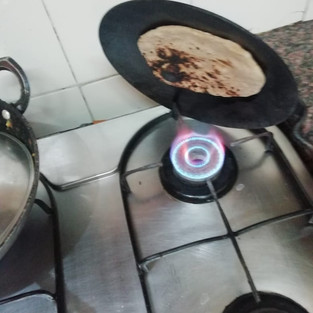
43. Then she directly placed the cooker above high flames.
44. Then after a few seconds, the tandoori roti started getting its form.
45. When done she rotated back the cooker.

46. Then I took the tongs and used them to remove the roti from the tandoor.


47. Then I put the roti directly on the high flames to cook the leftover parts and the edges.

48. After finishing with the process of tandoori roti, I then poured some ghee over it to give more taste and softness.

48. Then I crushed the roti to give a crunchy and crispy feel.

50. Now finally my Tandoori Roti is made and served with any vegetables or pulses.

Questions
Q- Why use Ghee/Oils in the dough?
A- Adding a little ghee/oil to your wheat flour will result in soft and tasty Rotis as the oil lends conductivity to the flour. It will help the chapatis heat up faster when on the pan without losing a lot of moisture.
Q- Why add water little by little?
A- To avoid the dough becoming lumpy.
Q- Why apply dry flour before rolling?
A- To remove the stickiness of the dough and can be easily rolled.
Q- Why apply water on one side of the roti before applying in the cooker?
A- To give stickiness so that the roti don.t fall inside the cooker.
Q- Science behind roti making
A- Roti making is a chemical process. Gluten (a type of protein) is present in wheat flour. The process of kneading enables gluten to make a matrix that holds its structure and fills the air in the dough. It makes the dough perfect to make soft chapatis.
Experimentation
First I did experiments by changing the ingredients
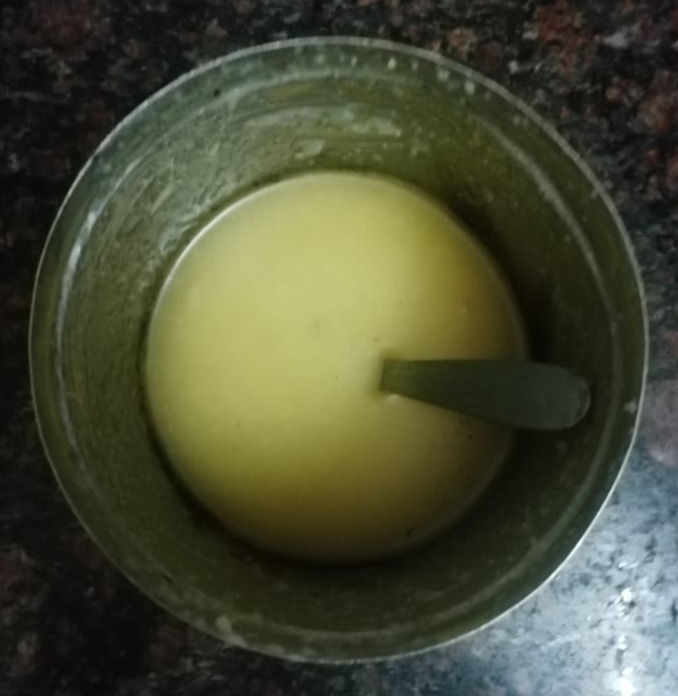
1. I made the dough with wheat flour + ghee + milk
The roti become very soft due to the milk
2. Dough with wheat flour + ghee + gram flour (besan) + salt + water
The roti becomes hard due to the besan. I used the same method to cook Tandoori Roti.

3. Dough with wheat flour + ghee + semolina (suji) + water
Roti becomes soft with the help of ghee and semolina. I used the same method to cook Tandoori Roti.

4. Dough with wheat flour + water
Roti becomes hard due to the absence of oil. I used the same method to cook Tandoori Roti.

5. I tried to add more amount of water to the dough. It went really bad.


6. I tried to change the form by doing the changes in rolling steps


7. I tried to make roti at high temperature and gave a black layer over the roti.


8. I tried to make it at low flames and it was looking very clean white surface and gave a very beautiful texture.

9. I tried to change the cooking techniques by taking the pan (kadhai) as a tandoor and cooked in the roti in it. It gave the same formation as a tandoor. I also tried to change the shape to


10. I also tried by taking Pan (Roti Tava) as tandoor by rotating it upside down over the flames. It also gave a very beautiful Tandoori Roti. I also tried some more changes in methods of making.


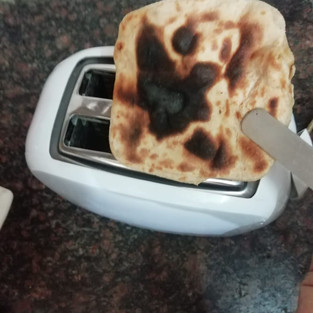
11. I also tried by taking bread toaster to make tandoori roti. It actually made it but the roti got harder and difficult to tear. I first slightly heated on the Tava and then put in the toaster.r and toaster.


12. I also tried to get the 3D form in the tandoori roti. It was very hard to get that. For that I also changed my ingredients in the dough, i.e., wheat flour + refined flour (maida) + baking soda + sugar + curd + ghee and gave it rest for 8 hours. It gave irregular 3D form but it was looking great. It was very soft and while eating it was giving the feel of a Kulcha.


Finally, Our main project is here.
For the main project I thought to make Aloo Parantha but in 3D form by rolling it just after giving the tandoori touch.
For this idea, I experimented to make Aloo Parantha on Tava and given tandoori feel.


I also thought to make shots out of the roll. Then I also thought to make a shape of a fish after doing this process. But my teacher told me that it would not be suitable for Veg people. Then she gave me the challenge to make something else and said to always add proof of the ideas.
So finally I decided to make Tandoori Aloo Roll, Tandoori Puff and Tandoori Litti.
I made all of them together.
Steps Of Preparation
1. I collected the items required to make the batter for these 3 dishes and placed then in plates.

They are - Chopped onions, capsicum, tomatoes (added later), sweet corns, peas, mashed potatoes, gram flour, red chilly powder, salt, mango pickles and Ghee
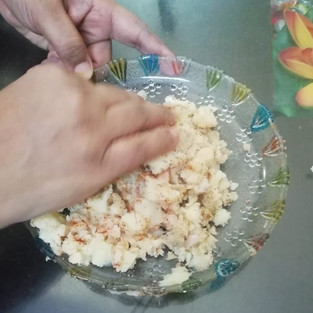
2. Then I started with making the batter of Aloo Roll.
In this, I mixed the mashed potatoes with onions and other spices.


3. Then I made the batter of the Litti
In this, I mixed the gram flour with onions with spices and some pickles and then mixed it properly.


4. Then I made the batter of the Tandoori Puff.
In this, I first fried the onions, capsicums, sweet corns, tomato. peas and very little amount of potatoes.


5. Finally all 3 batters are ready.

6. Then I started with making the Rotis and my dishes.
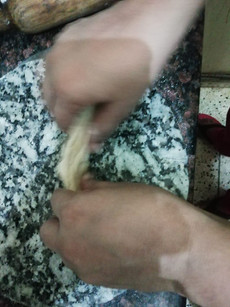
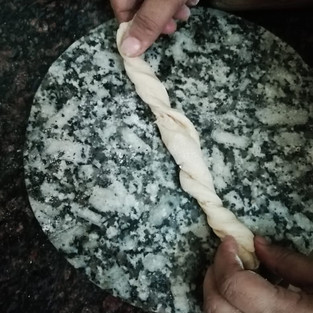
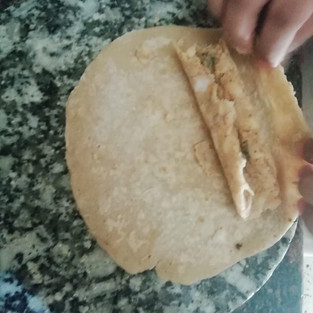
7. First I made the Aloo Rolls.
In this, I first made the roti with dough and heat some seconds on a Tava and then filled it with Mashed Potatoes batter and applied some Samolina water to stick the ends of the roll and rolled it and heated directly on flames to give the feel of a Tandoori Style.


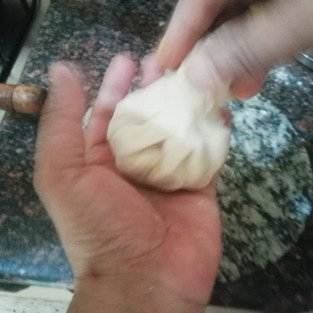
8. Then I made the Tandoori Litti
In this, I first took the rolled roti and filled the gram flour batter in it and closed the roti in form of a bowl and heated directly on the flames.


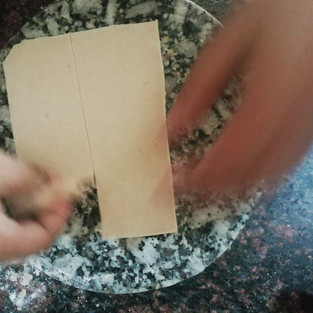
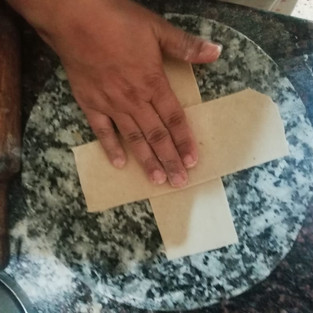
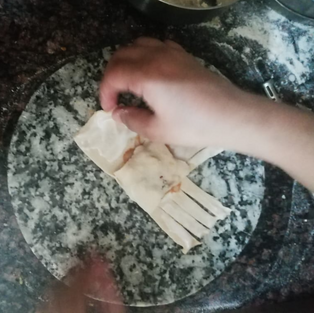
9. Then I made the tandoori Puff in a very different style.
In this, I first made the big circles and cut it in the form of a rectangle and then divided it in half. Then I applied some watered semolina in the centre of the one rectangle and placed them in the form of a cross. Then I poured some Chilly Sauce and placed the batter of the Puff in the centre of the cross and applied the semolina on the vertexes of the cross. Then I cut the strips on 2 adjacent sides and other 2 are left like that. Then I overlapped the batter with uncut sides and then strips in a weaving form. Then I placed it on the flames and gave it the feel of the Tandoori Style.


10. After the completion of them I poured very less oil in the pan and fried all of them a little bit and also cut the roll in 4 pieces and added toothpicks to them. I didn't deep-fry any of them but to just give the feel of that too and to make them easily eatable, I did this.


Finally, I have completed the Dishes and now its time to eat with the family. Yahhh !!!


During the chat with Anshoo Ma'am, she told if everyone is obsessed with eating the same thing again and again so we can give it to the neighbours. But I said to ma'am that Until it will reach to the neighbours it will be in our stomachs and exactly happened and all just vanished in a few minutes and everyone love the dishes a lot because today I tried something very different which also made them very curious to eat.
Key Learnings from the Project
1. Perception – In food, the way we see and understand helps us to determine which food item it is. In food we can change the perception by changing its ingredient, proportion, cooking technique, temperature, size/thickness/consistency, form, etc. Like – In most restaurants if we order a Dosa we get a, long flat rectangular shape, but it also comes in the shape of a Waffle (3D form) and we perceive it as Waffle but actually, it is a Dosa.
2. Exploration – In this project, we searched for the discovery of information or recourses in foods by using dough and changing it's ingredients and other aspects and moving ahead with our best result. By exploration, we also get to learn new things which we have read somewhere but never experienced in real life. By exploration, we get the fact to never start anything before experimenting with that and we get a list of dos and don’ts of that. We also get to learn about scale and context by clicking our food item with some size defining background or not.
3. Design and Importance of Tools – In foods design is everywhere and food & design are interrelated with each other like a dot and a line. While making we require a lot of tools and without them, it took us too much time. I got to know how a specific tool is designed for that particular task. Like – Nowadays we mostly make Rotis on Tava and also see Roti making machines and other tools but in early ages, we do not use them and nowadays we can The tools are evolving with new designs or concepts by getting the assumptions and challenges from them.
Slide Show Of The Project


Comments